
Here is a picture of the front of the room. You can see my alphabet from the amazing Amy Lemons above the white board. The left side of the white board is my word study board (I follow the Fountas and Pinnell Word Study program) and my calendar. To the right side of the white board is my birthday chart and my Phonics Dance board ready and waiting for the hunks and chunks! Below the white board you can kind of see the hands counting by 5s.

Here is my math board - where all I have up right now is the number grid. The kids love using the red wand to count on the number grid! On the table and in the shelving below the table are bins of math supplies.

This is a view of the back of the room. Starting from the left you see the CAFE menu board, a pocket chart possibly for math stations (but I hate that it's in the middle of all things literacy), my word wall, and my fancy word wall for vocabulary.

Here is a close up of my word wall and just below it you can see where I keep all of my guided reading supplies. I like to keep magnetic letters, tube phones, leveled readers, reading A-Z assessments, CAFE guided reading forms, Dolch word lists, post-its, DIBELS tools, RTI forms, and recently I added a bin of math manipulatives for small groups during math workshop.

Here is our computer corner. Right now there are 4 computers, but when school starts I should have 6.


Here are a couple views of my library - I love my library and I love books! You can sort of see the beanie baby strategies and beanie babies in the 2nd one - which I love (from Christina Bainbridge's website).

Just a more broad view of a lot of the library.
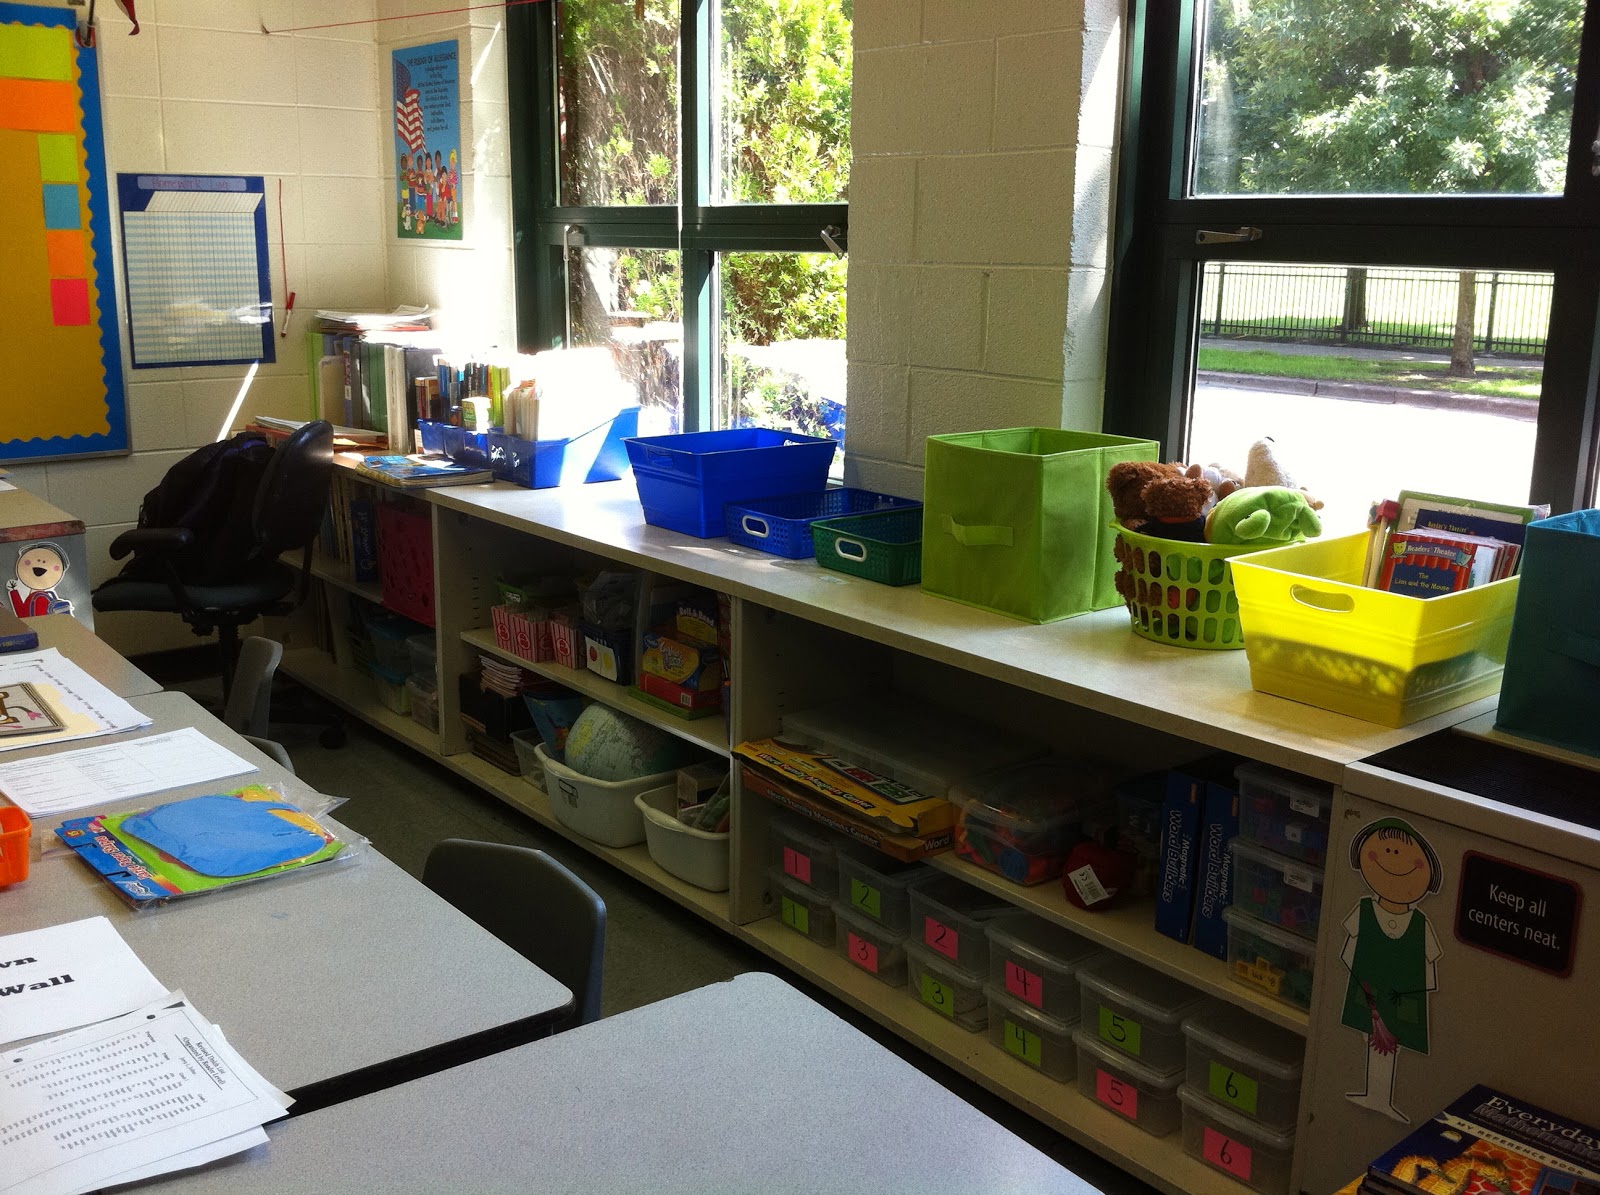
This is a view of the where I keep a lot of supplies for literacy stations and math stations. You can sort of see on the bottom shelf the green and pink labels on the math work stations I just put together today...yay! The top shelves are for word work, the counter is where students turn in work, homework, S.T.A.R. folders, and take home books. Down in the corner is where my desk is and behind it you can see the mess of my binders where I keep most of my lesson/unit plans.

This is sort of my "behavior management" area if you will. You can see my clip chart, our class promise (Debbie Miller) and our jobs. You may be thinking there aren't enough jobs for the 30 kids on my list...you're right. I am planning on having my students apply for a job (after they've had a chance to experience most of them) and then picking two sets to rotate. For example: line leader (1 boy, 1 girl) - I will pick 2 boys and 2 girls and they will rotate every two weeks. What do you think? Does that sound like a good idea or not so much?

I am sooooooo excited about bucket fillers - I really hope it works! There is another closet hanger on the other side of the coat room for the other half of the class.

This is my writing area - will double for writer's workshop and work on writing during daily 5. You can't see it, but on the side of that wooden thing there are 5 shelves on each side where I have trays of different types of paper. On the front is where I have the 6 traits and on the wall are the steps of the writing process. Not quite sure what will go on the other side though!
So that's it for now! I hope you enjoyed the tour of my classroom...thanks so much for stopping by!! Comments/suggestions are welcome and appreiciated - I love the feedback :) And don't forget to link up over at Blog Hoppin'


1 comments:
Nice work! Cool to read such a well-considered article! I've found some decent tutorials on how to fill NY DTF IT-280 out online here http://pdf.ac/7nqJDC .
Post a Comment